Getting Your Bay Area Property Ready for an EV Charger
Understanding the Scope Before You Start
Installing a home EV charger in the Bay Area involves more than just buying a unit and plugging it in. The process touches on your property's electrical capacity, local permitting rules, and the physical layout of your garage or driveway. Getting these elements sorted ahead of time can save you from delays and unexpected costs.
San Jose home charging setups vary widely. A newer single-family home might already have a 240-volt circuit in the garage, while an older condo or a house with a finished basement could need significant upgrades. The first step is to understand what you are working with.
Step 1: Check Your Electrical Panel Capacity
Your electrical panel is the starting point. Most EV chargers require a dedicated 240-volt circuit, typically rated at 40 to 60 amps. That means your panel needs to have enough spare capacity to handle the extra load without tripping the main breaker.
Look at the main breaker rating on your panel - it is usually 100, 150, or 200 amps for a typical Bay Area home. Add up the existing loads: your HVAC system, electric range, dryer, water heater, and any major appliances. If the sum is already close to the main rating, you may need a panel upgrade or a load management device that automatically reduces charging power when other appliances are running.
What to watch for: an older panel with fuses instead of breakers, or a panel that has no empty slots for new circuits. Both are signs that the electrical system may need updating before a charger can be added safely.
Step 2: Evaluate Your Property Layout and Parking Situation
Where you park your car matters a lot. The charger needs to be within reach of the vehicle's charge port, and the cable should not have to stretch across a walkway or a driveway where someone could trip over it.
For a garage installation, consider where the charger will mount relative to the parking spot. If you have a detached garage, the conduit run from the main panel to the garage could be long and may need to go underground or along a fence line. For a carport or outdoor parking, the charger must be rated for outdoor use, and the cable should be long enough to reach the port comfortably.
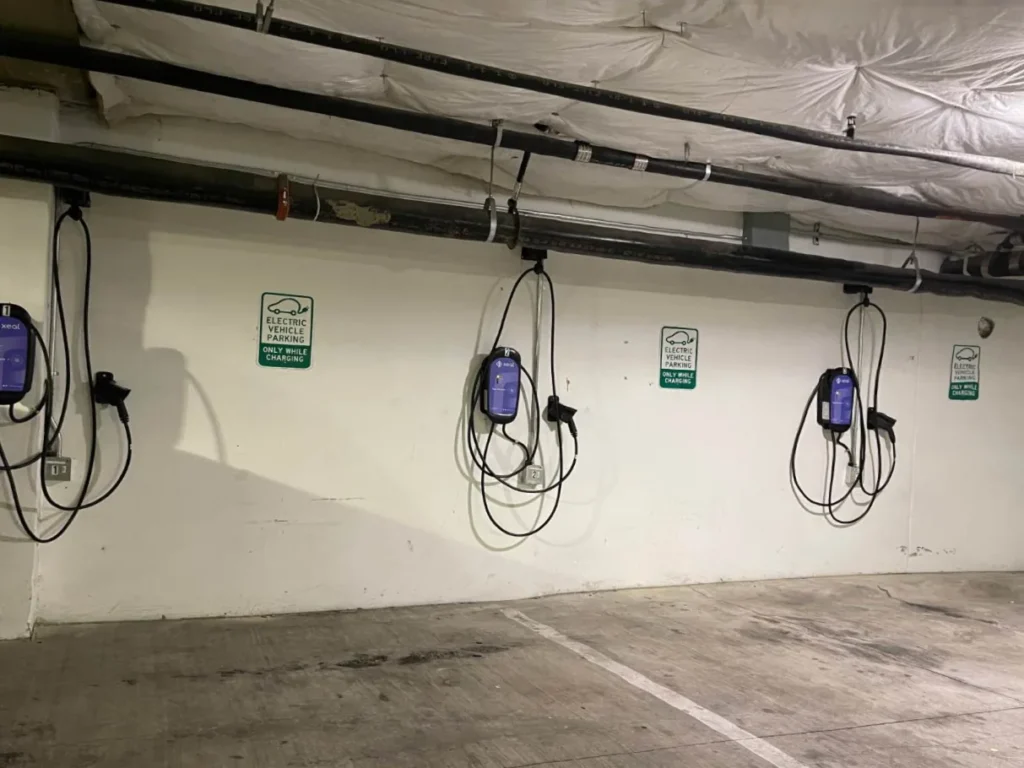
What to watch for: a parking spot that is far from the panel, especially if the route involves crossing a concrete slab, a flower bed, or a finished wall. Each obstacle adds complexity and cost to the conduit run.
Step 3: Review Local Permitting and Utility Requirements
The Bay Area has its own set of rules. Most cities, including San Jose, require a permit for a new EV charger circuit. The permit process ensures the work meets the current electrical code and passes an inspection.
Contact your local building department to find out what they require. In San Jose, for example, you typically need an electrical permit and an inspection after the installation is complete. Some jurisdictions also have specific requirements about the type of conduit, the depth of burial for underground runs, and the location of the disconnect switch.
Beyond the city, your utility company may have its own programs. PG&E offers rebates and time-of-use rates for EV charging, but those often require a separate meter or a dedicated circuit. Check their website for current offerings and any paperwork they need.
What to watch for: a property that is in a historic district or has a homeowners association (HOA) with architectural guidelines. Some HOAs have rules about where you can mount equipment on the exterior of a building, and historic districts may require special approvals.
Step 4: Plan the Conduit Route
Once you know where the panel is and where the charger will go, you can plan the physical path for the electrical conduit. This is where the property's specific details come into play.
The ideal route is a straight line from the panel to the charger location, with minimal bends. Each bend makes pulling the wire harder and may require a junction box. For a garage that is attached to the house, the conduit can often run through the attic or along the garage wall. For a detached garage, you may need to trench underground.
What to watch for: obstacles like gas lines, water pipes, or other utilities that might be in the way. If you have a finished basement or a finished garage wall, you may need to cut into drywall and patch it afterward. A careful walkthrough of the route before any work begins can prevent surprises.

Step 5: Schedule an Installation Assessment
Before committing to a specific charger model or starting any work, it is wise to have a qualified electrician assess your property. This assessment is not the same as a quote - it is a thorough look at the panel, the proposed route, and the property's unique conditions.
An experienced electrician can spot issues you might miss: a panel that is already at its limit, a conduit route that is impractical, or a grounding system that does not meet current code. They can also advise on the right charger amperage for your driving habits and your panel's capacity.
For Bay Area properties, this step is especially important because of the region's varied housing stock. A 1920s bungalow in downtown San Jose has different electrical needs than a 2010 townhouse in Cupertino. An assessment gives you a clear picture of what is needed and what it will take.
When you are ready to move forward, a company like Wooding Electric can handle the full process from assessment to final inspection. Their team knows the local codes and utility requirements, so the installation is done right the first time.
Step 6: Choose the Right Charger and Prepare the Site
With the assessment complete, you can choose a charger that fits your needs and your panel's capacity. Most Level 2 chargers operate at 30 to 50 amps, and many are smart chargers that can schedule charging during off-peak hours.
Prepare the site by clearing the area where the charger will be mounted. Make sure there is a clear path for the conduit and that the mounting surface is solid - brick, concrete, or sturdy wood. If the charger is going outdoors, ensure it has a weatherproof rating and that the cable can be stored neatly.
What to watch for: a charger that requires a neutral wire when your panel only has two hot wires and a ground. Some older panels may not have a neutral available at the charger location, which can limit your options. Also, consider the cable length: a 20-foot cable works for most garages, but a longer cable may be needed for larger vehicles or awkward parking angles.
Step 7: Coordinate the Installation and Inspection
Once the site is ready and the charger is chosen, the actual installation can proceed. A licensed electrician will run the conduit, install the circuit breaker, mount the charger, and make all the connections. After the work is done, the city inspector will come to verify that everything meets code.

The inspection is a key step. The inspector will check the conduit for proper support, the connections for tightness, and the grounding for safety. They will also verify that the charger is installed according to the manufacturer's instructions and the permit requirements.
What to watch for: scheduling the inspection before you close up any walls or cover the conduit. If the inspector needs to see the conduit path, they may ask you to leave a section of drywall open. Plan for that so you do not have to cut into finished walls after the fact.
After the inspection passes, you can start charging. Most installations take one to two days, depending on the complexity of the route and the need for panel upgrades. A straightforward install in a garage with an adjacent panel can be done in a few hours.
If you are looking for a trusted partner for your San Jose home charging project, Wooding Electric can guide you through each of these steps. Their team handles everything from the initial assessment to the final inspection, so you can focus on getting your EV ready for the road.